Here are a few pictures of the process... I hope this is not unorthodox to post here, as this is not directly related to piCore...
First the "milling" of the ears of the faceplate. It worked, but
I don't recommend doing it this way. Either use a proper mill for this, or, if only woodworking tools at hand, a router with a carbide bit can be used, as long as the aluminum is very well secured.
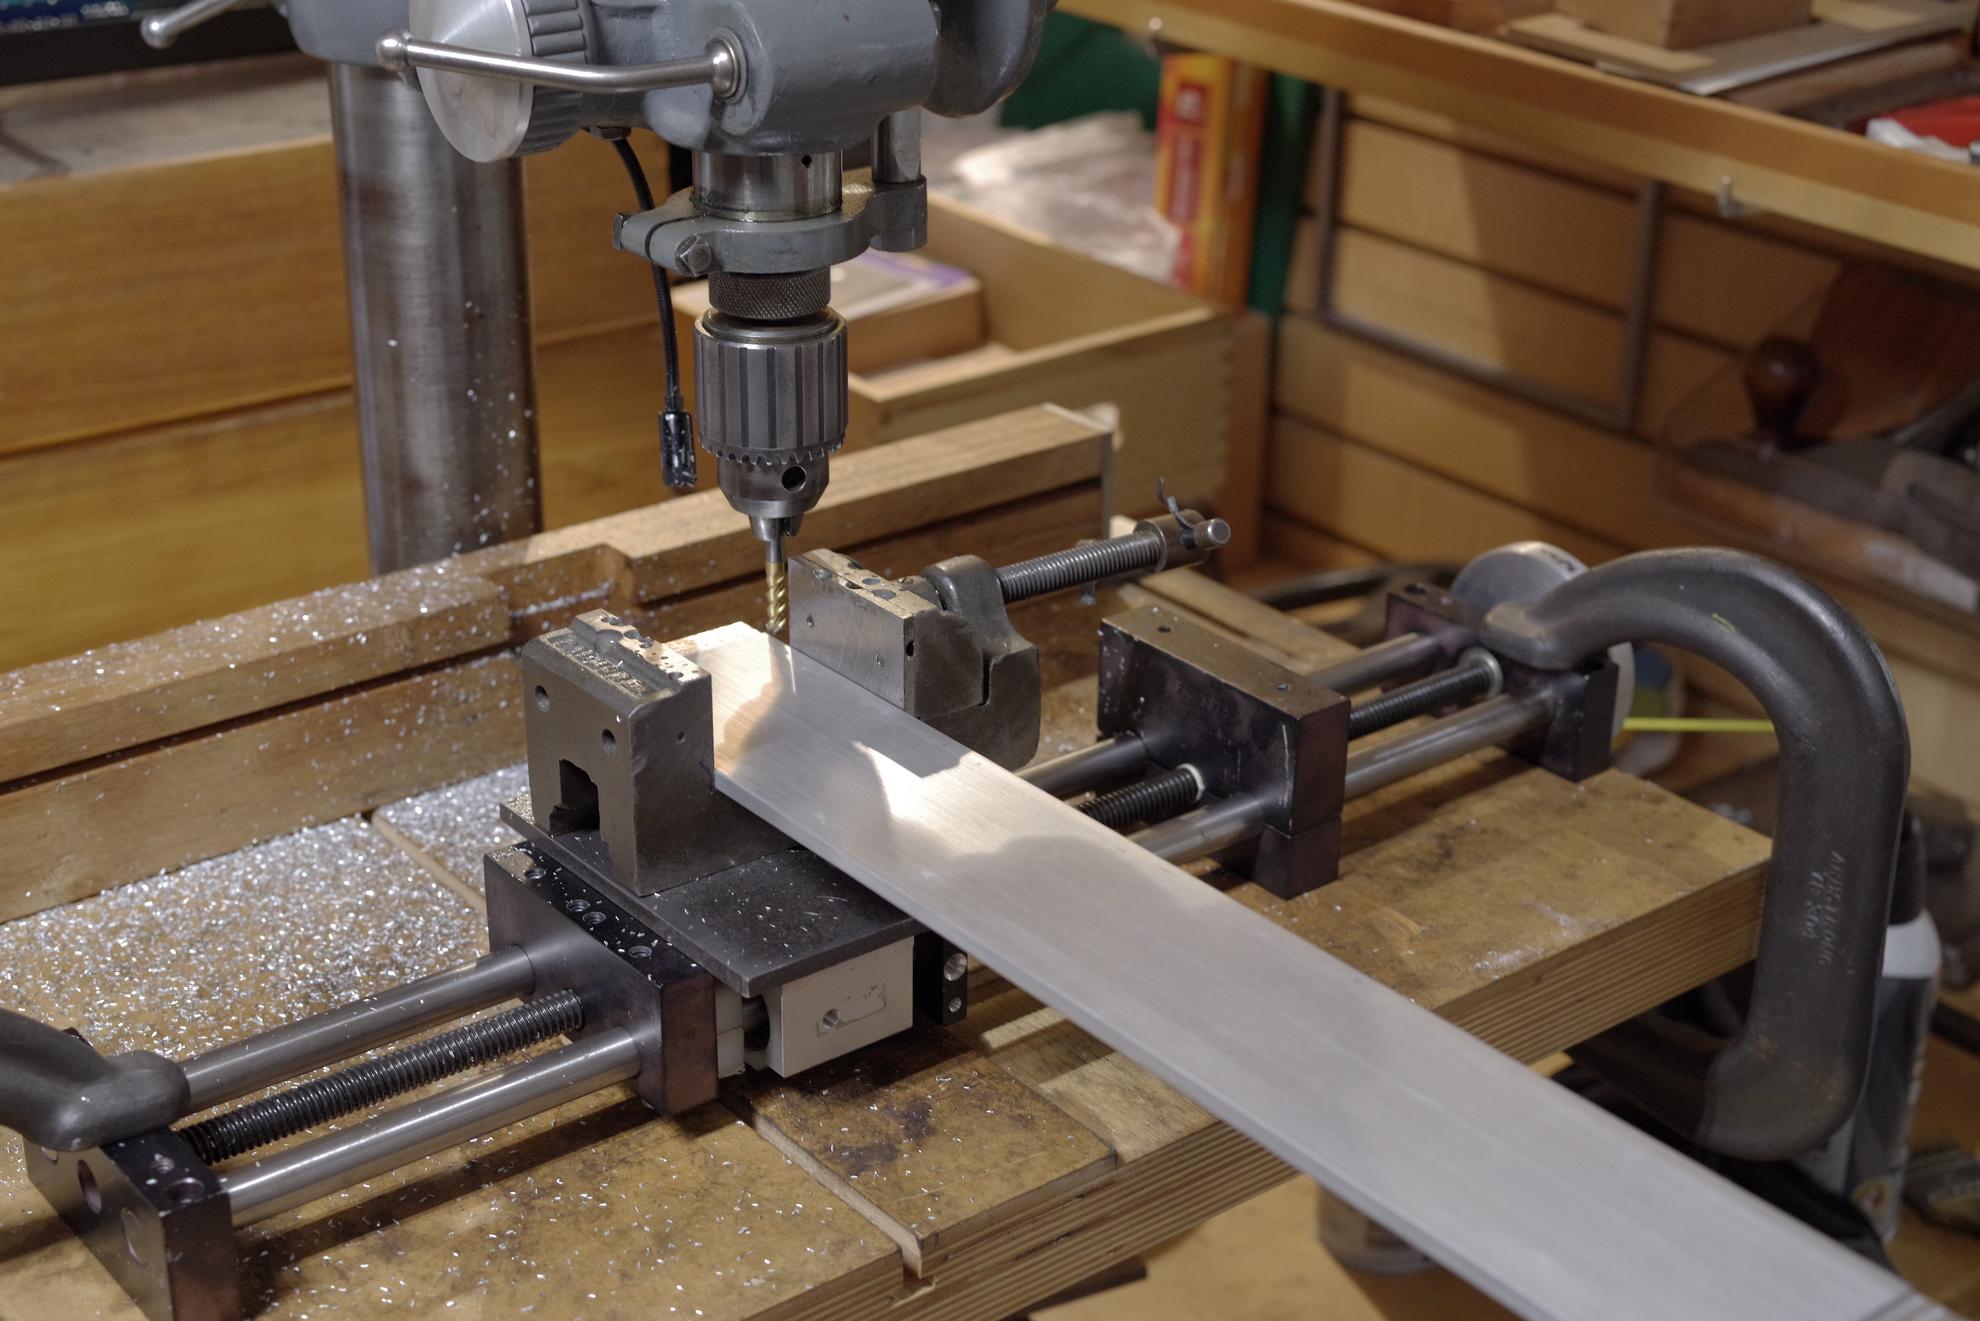
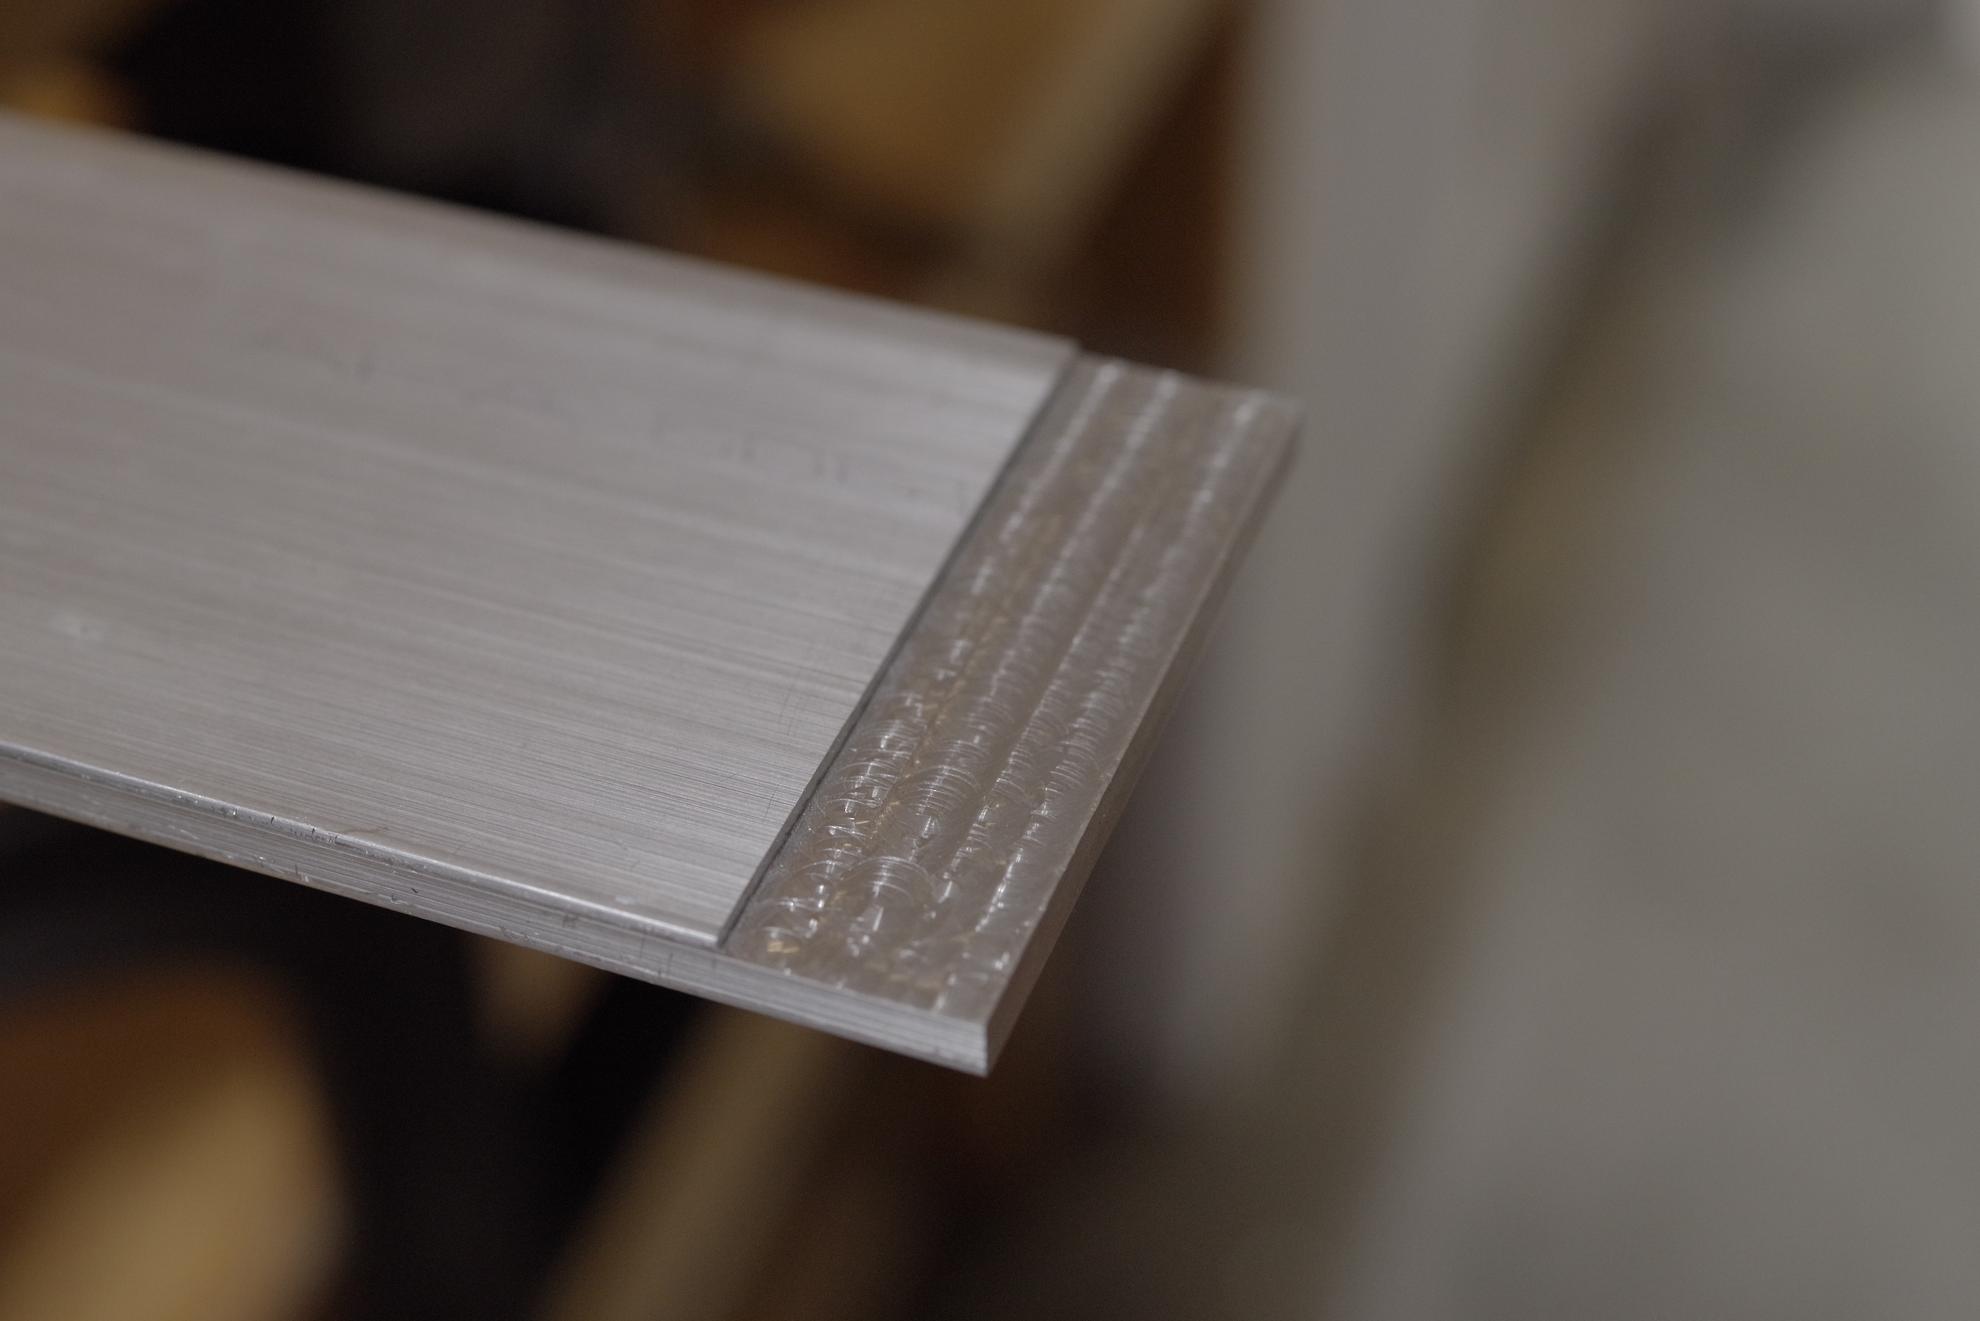
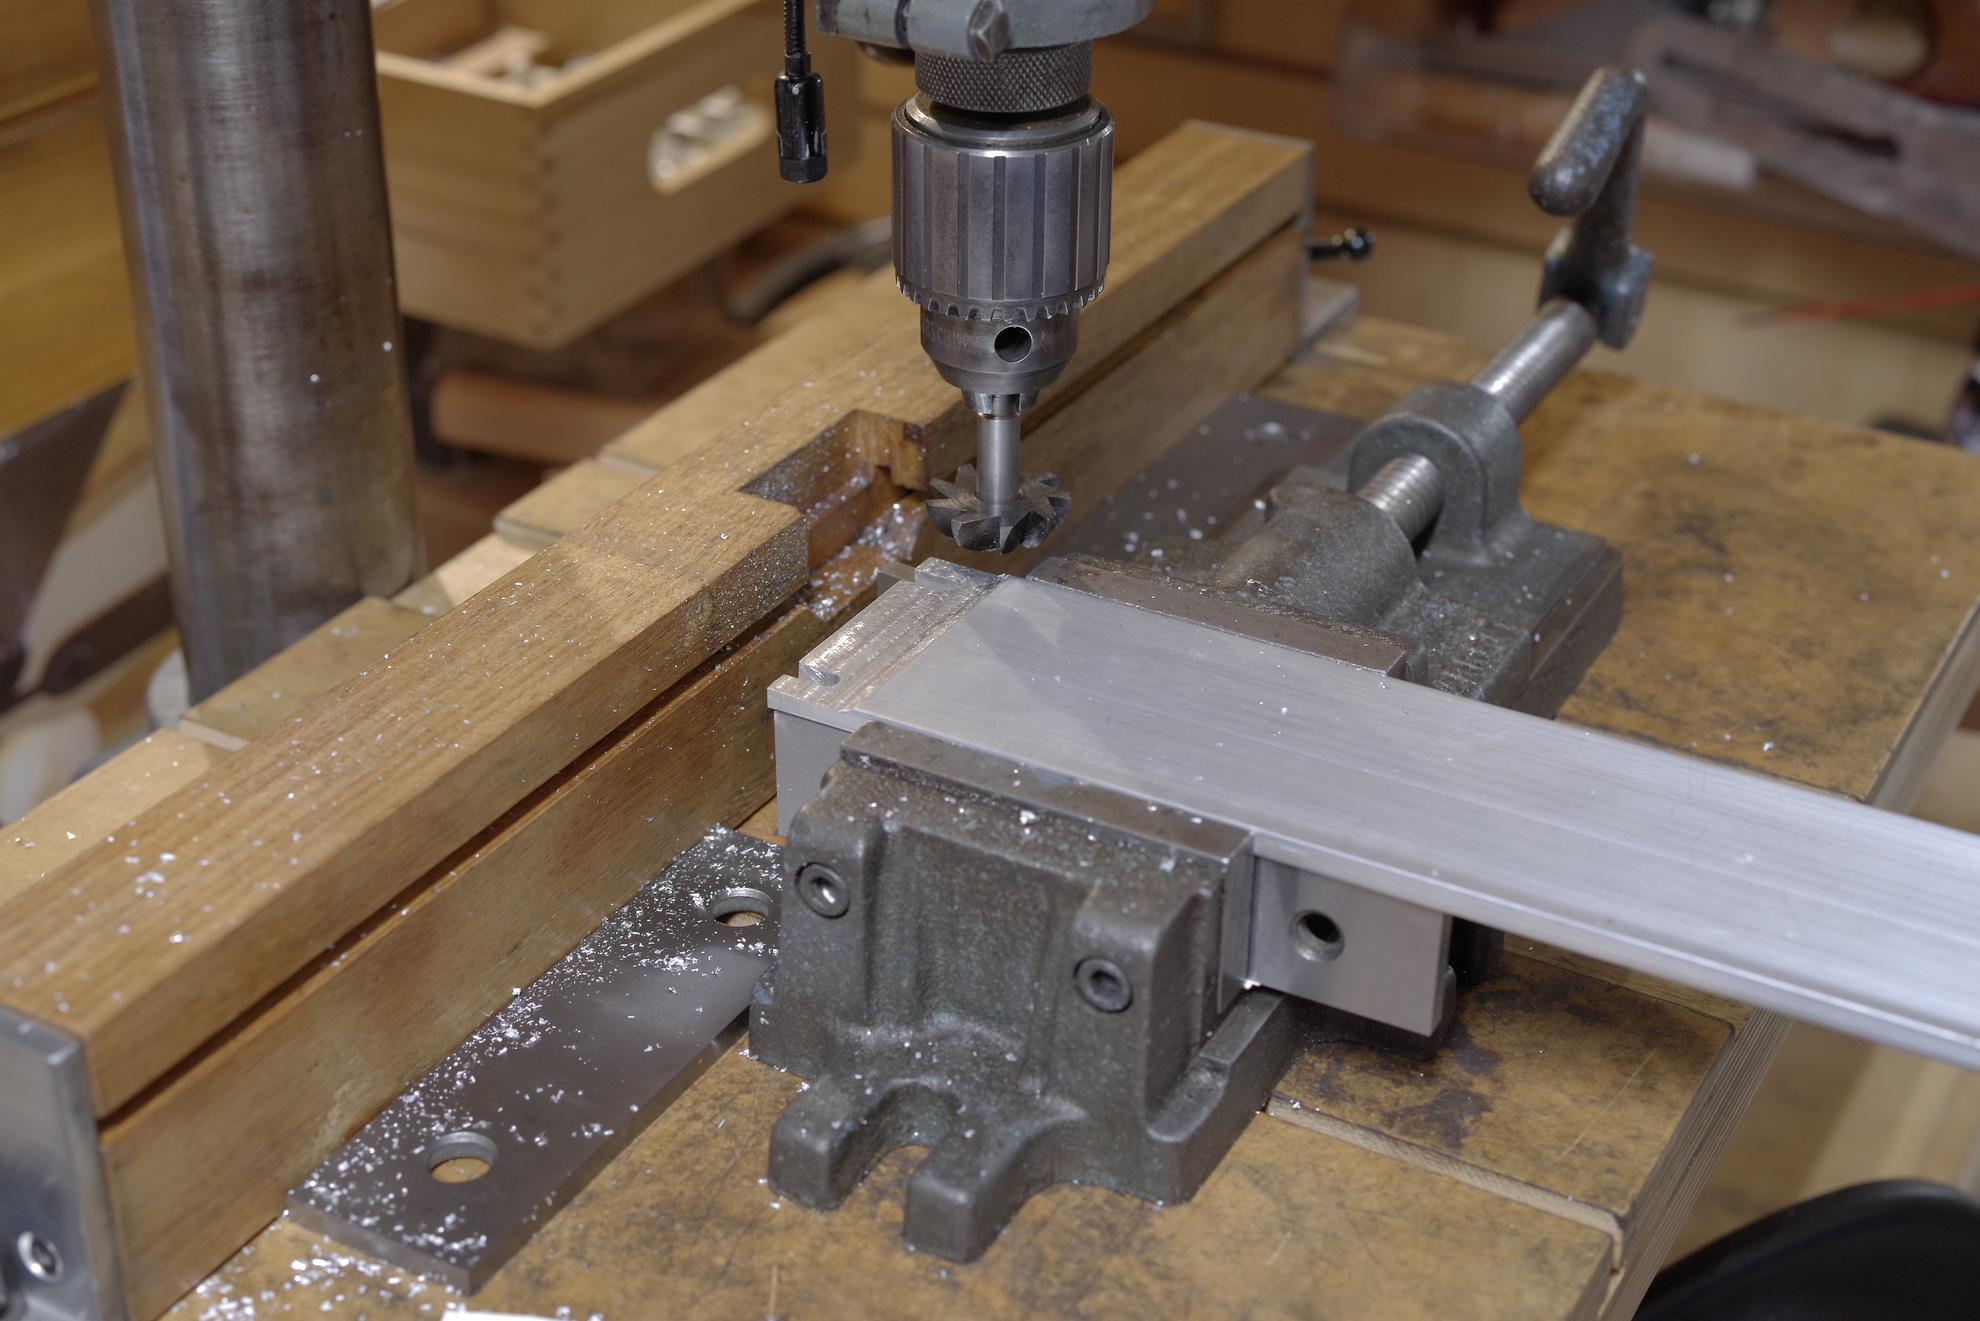
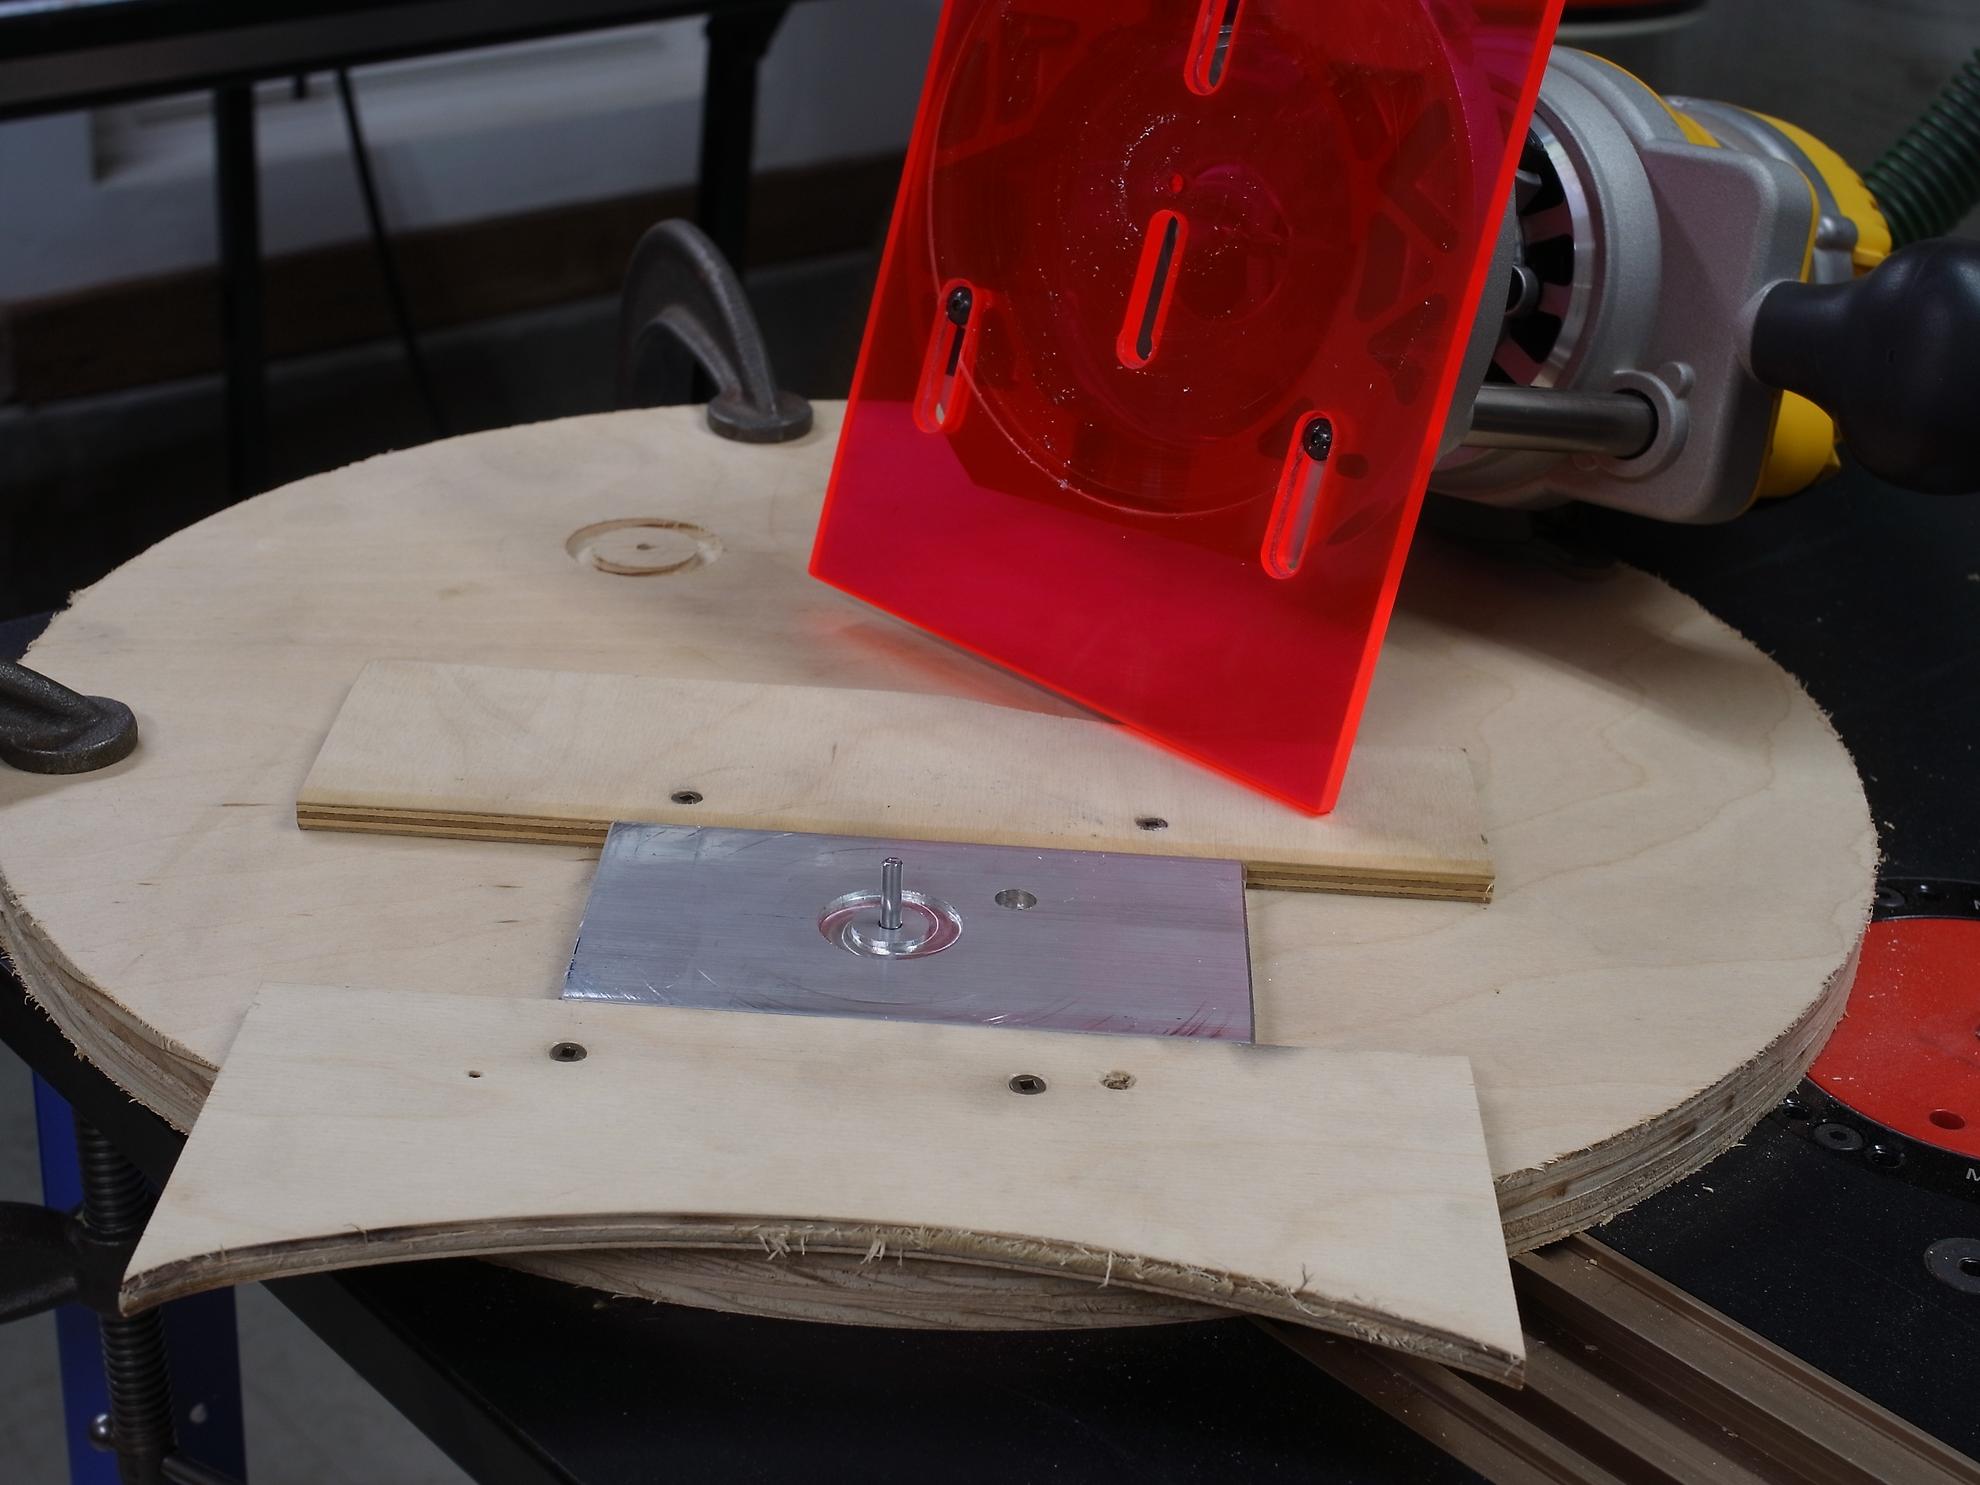
Here a picture of the circle jig I made to cut the counter-bore for the large hole (on a test piece).
The electro etching is a bit more elaborate. I use "Press-n-Peel Blue Transfer Film" to transfer the printed image to the aluminum. Any spots are touched up with nail polish, or simply taped. Then I build a sort of cage around the print, glued down with hot glue. For the actual etching process, I added a vinegar and salt solution, then connected the test piece to the positive of battery charger, and the negative to a copper piece that is suspended in the solution above the print. I etched for four minutes.
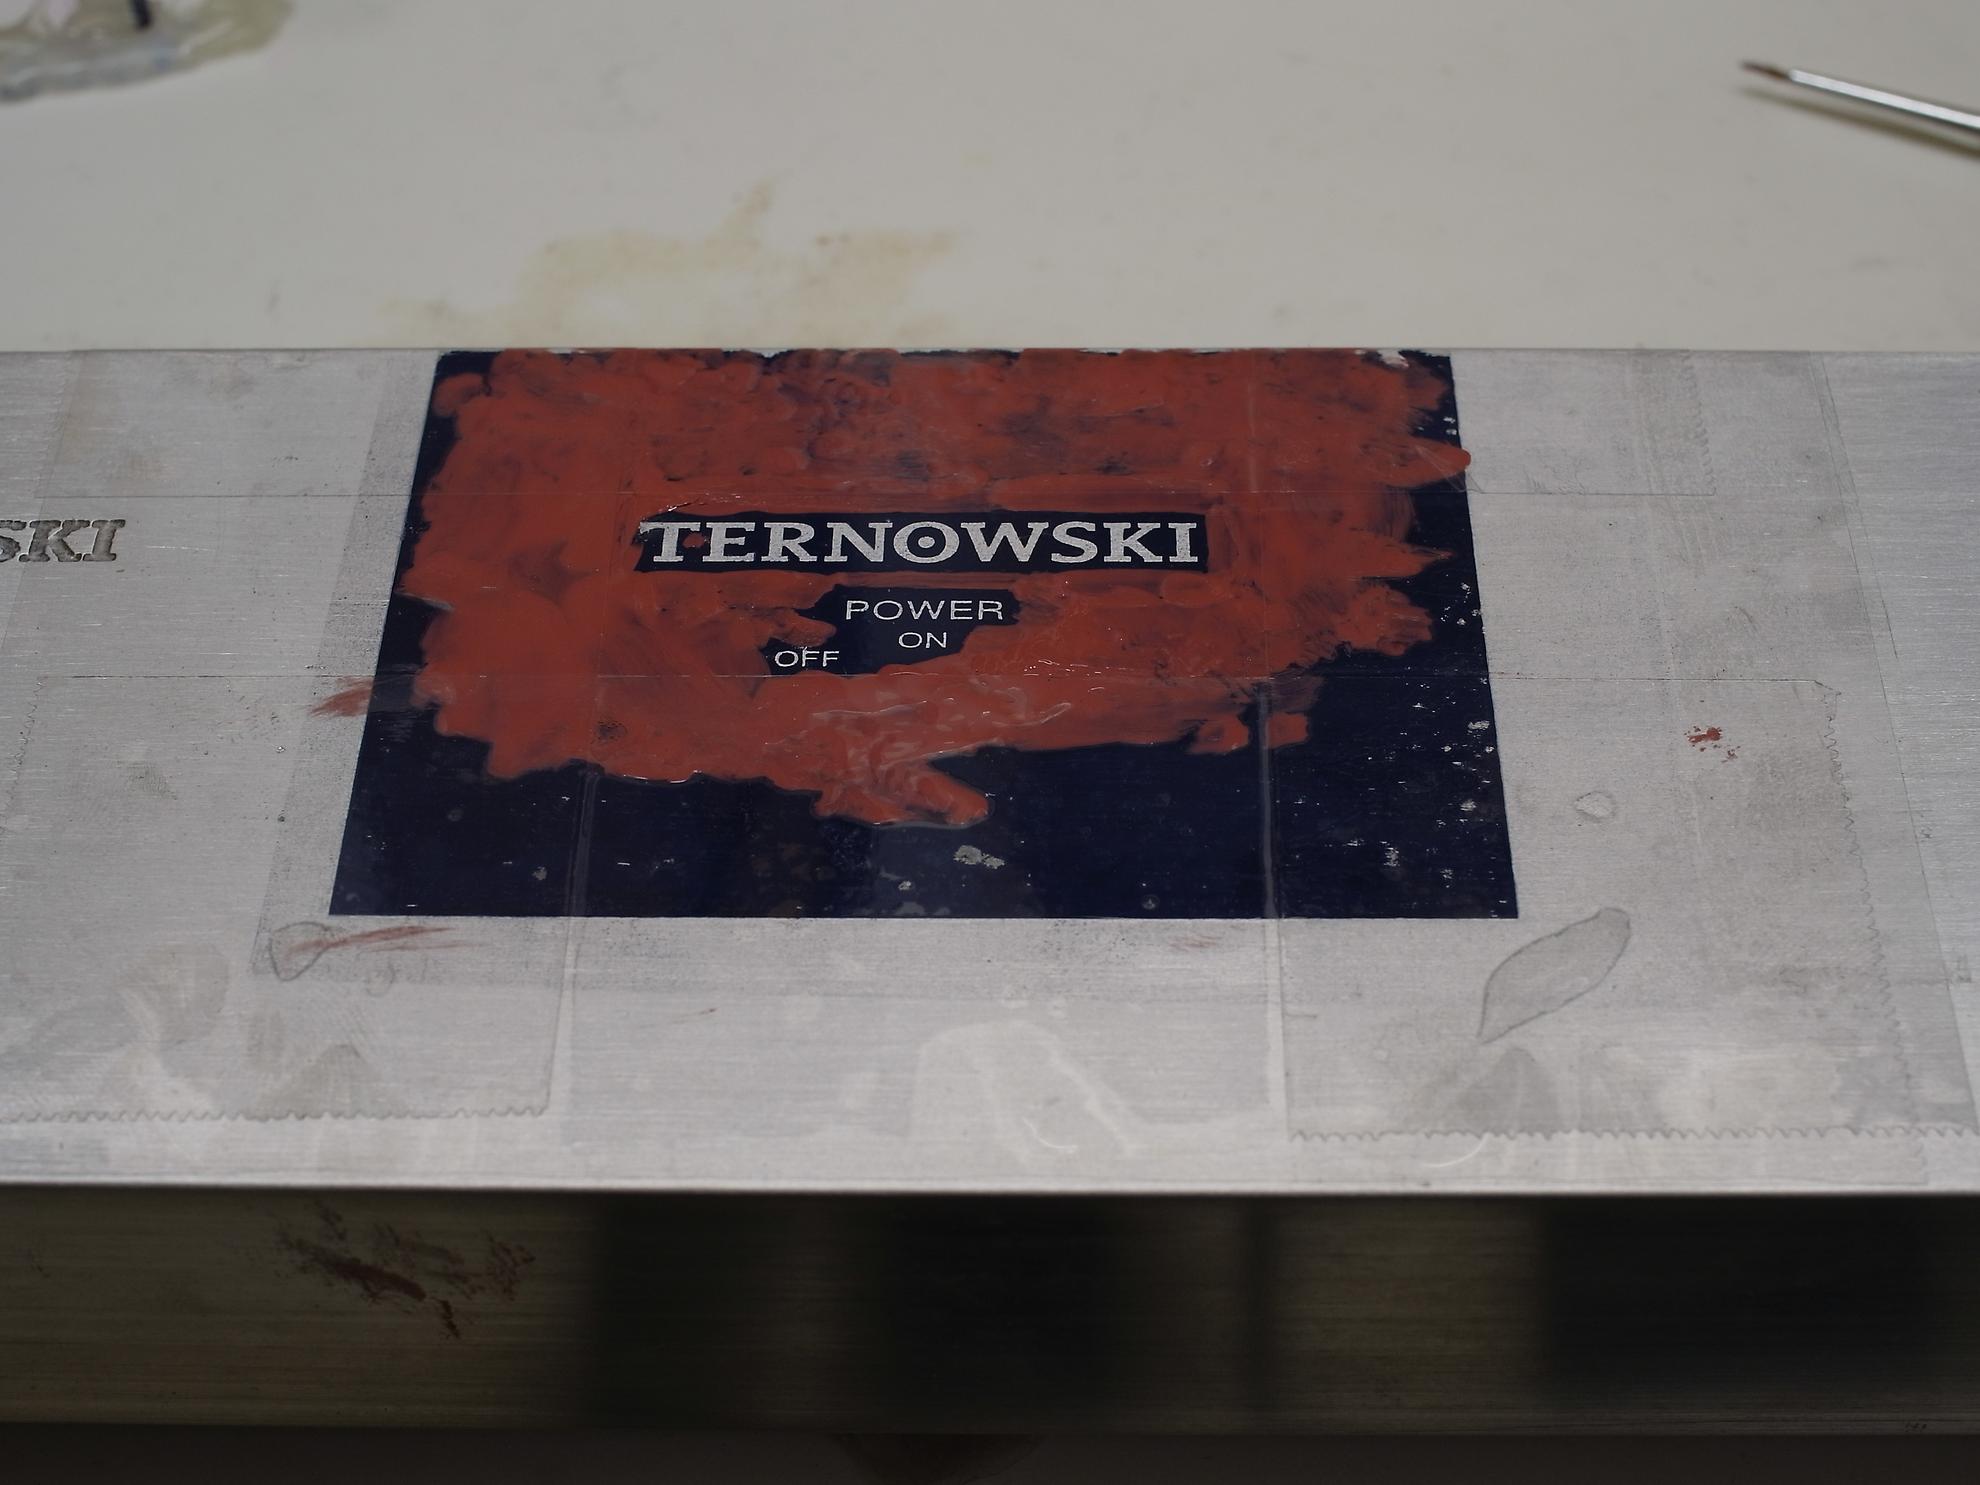
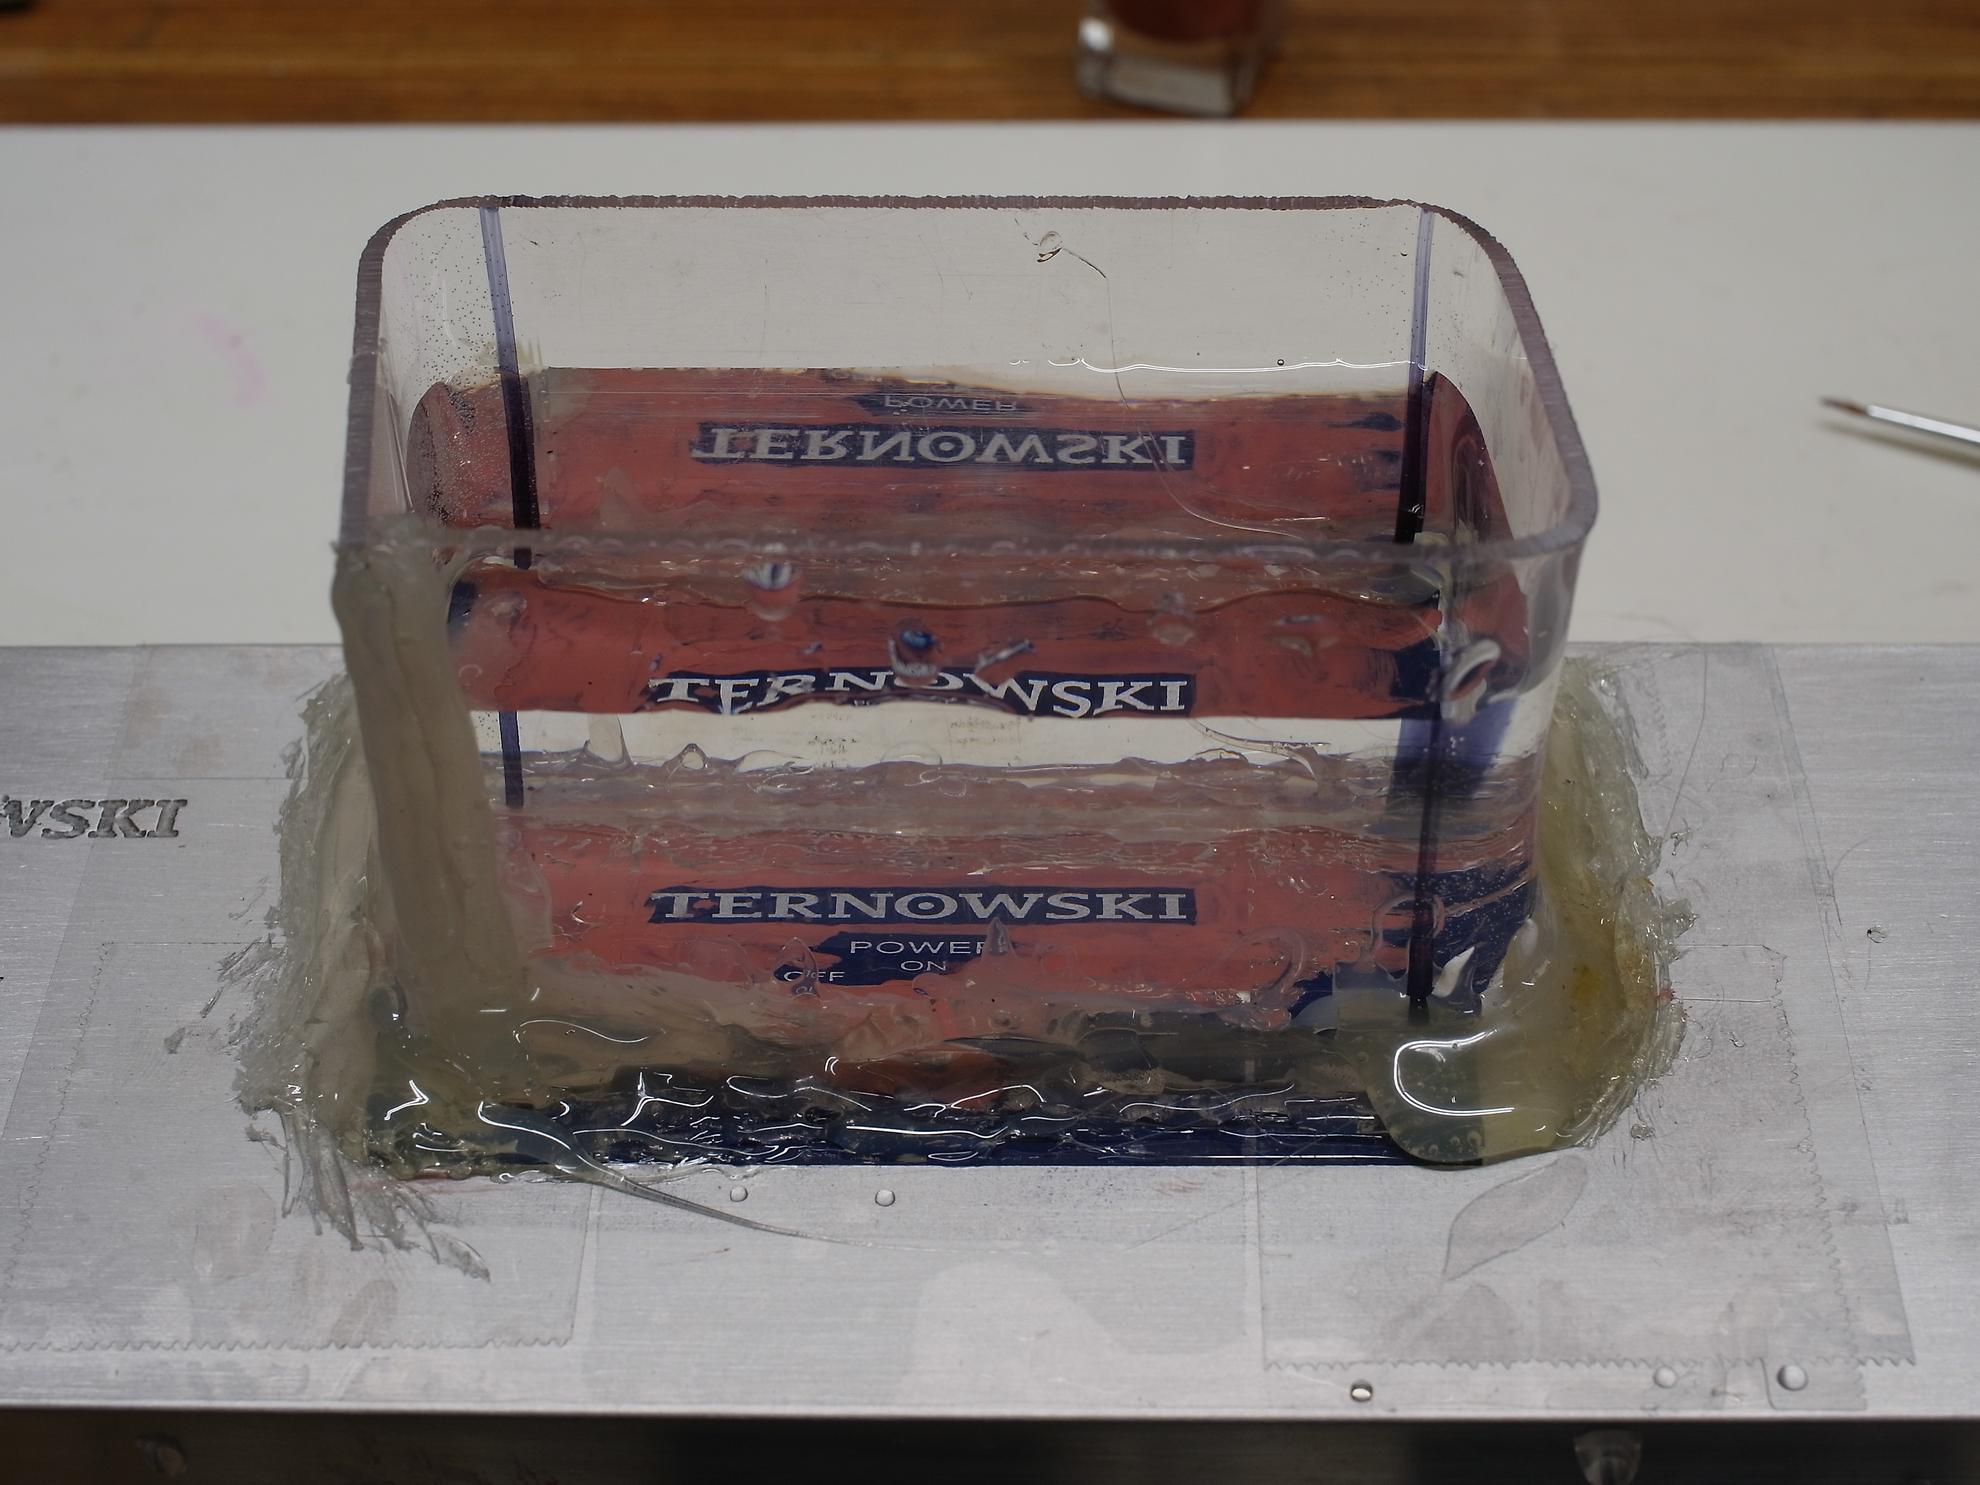
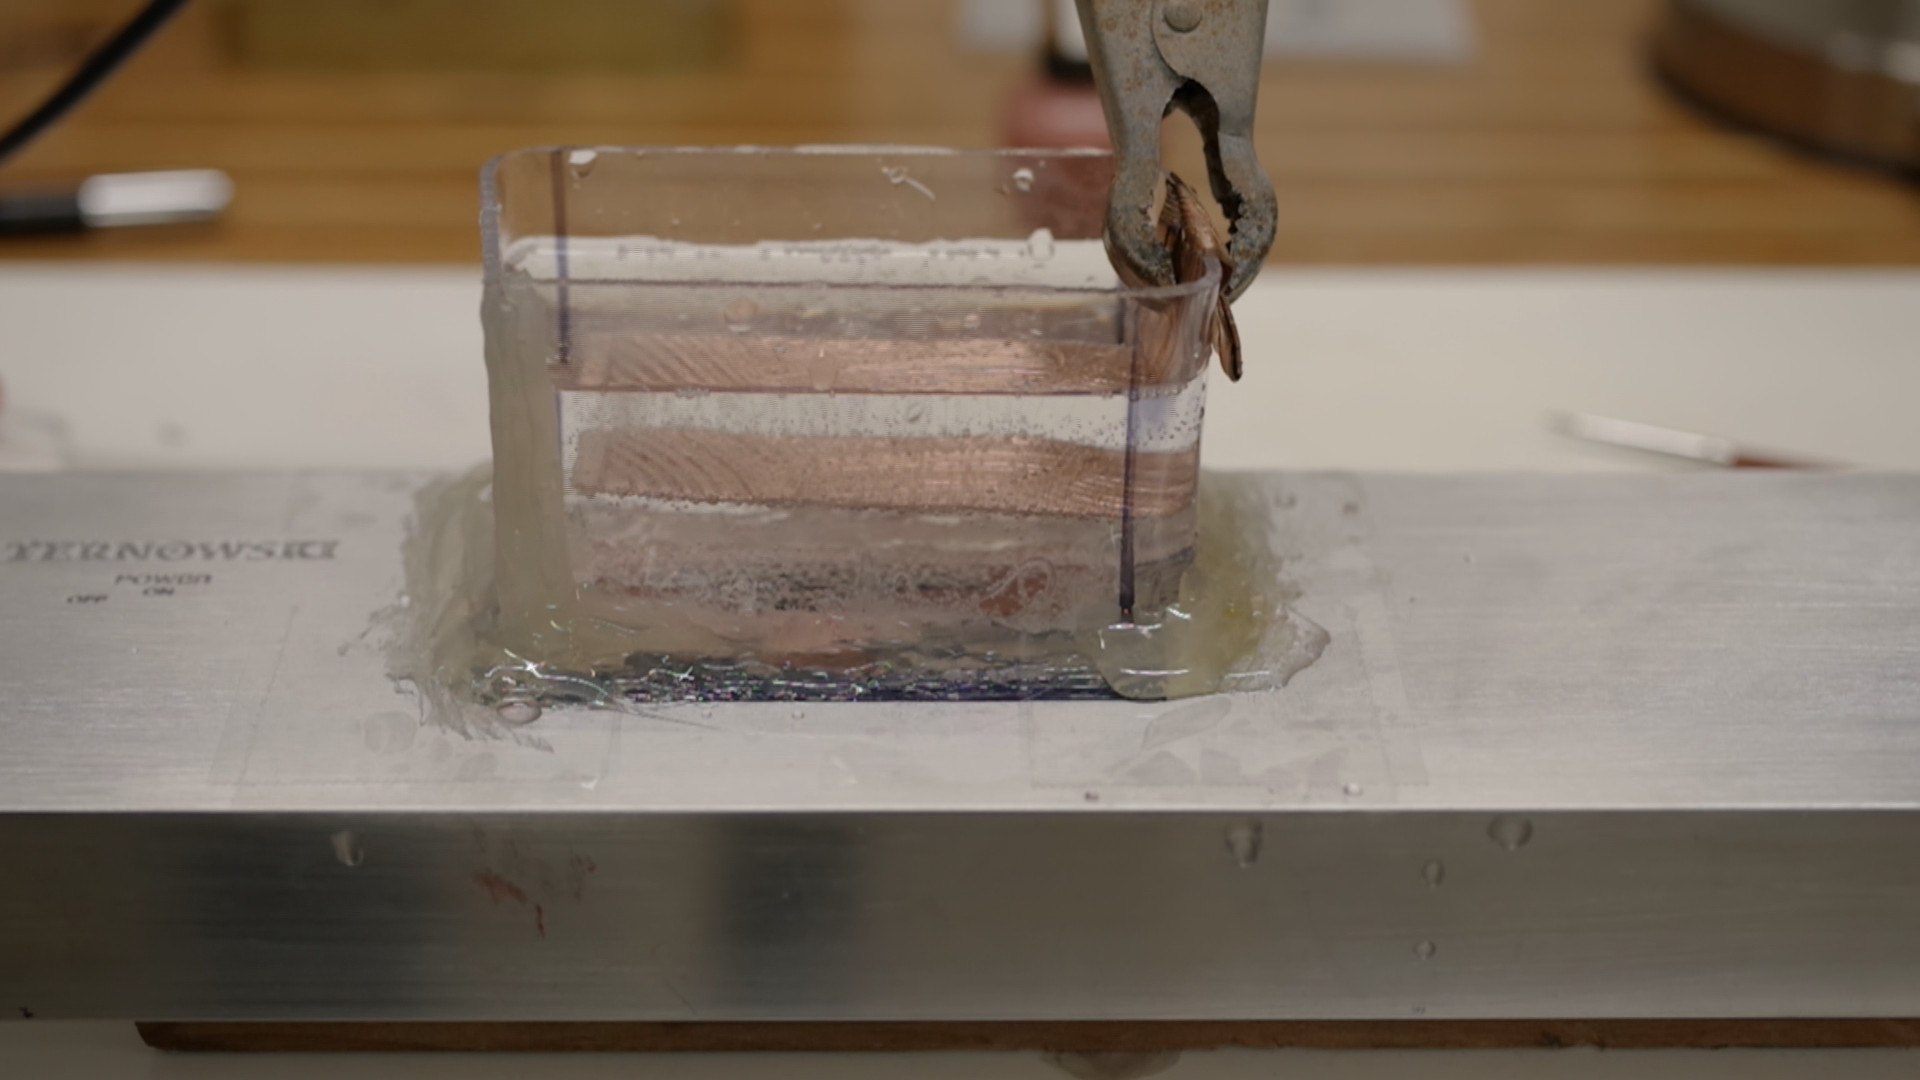
The result will look somewhat like this. Note that it needs to be sanded again, usually the etching bites at least a little into some areas that aren't supposed to be etched.
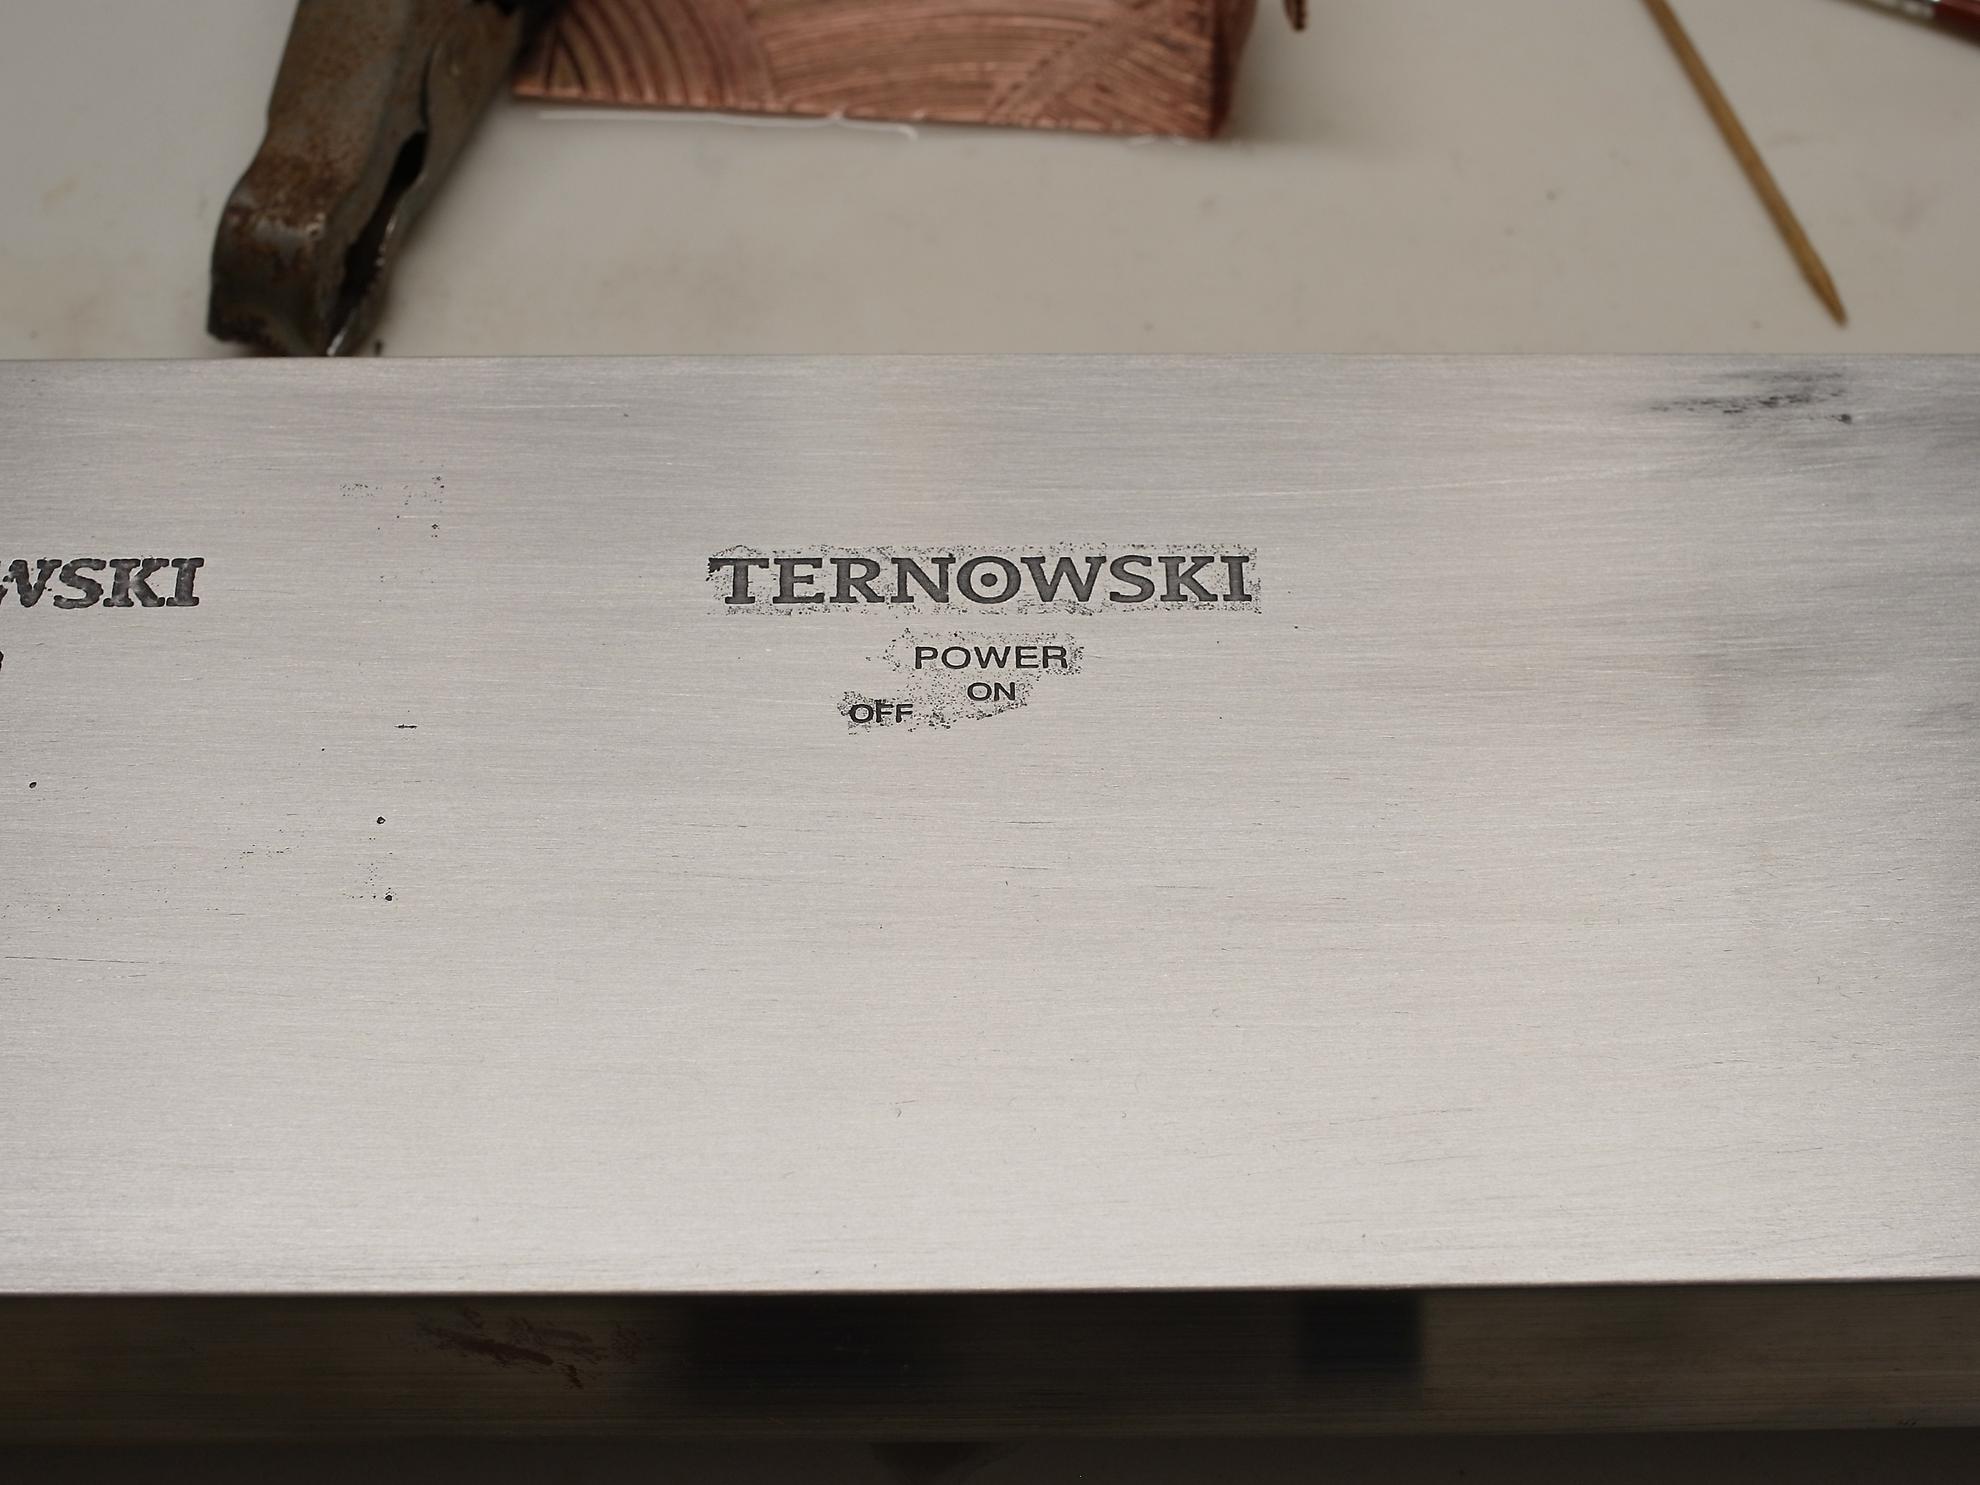
It's a lot of work, but a hell lot of fun

Eventually I will post one big blog post on my website with more images. At this time though, I have to figure out how to get the green LED in there, and then find some matching paint for the case (not the front, of course). I am also thinking about nickel-plating the frontplate, since aluminum is a bit sensitive to fingerprints etc.